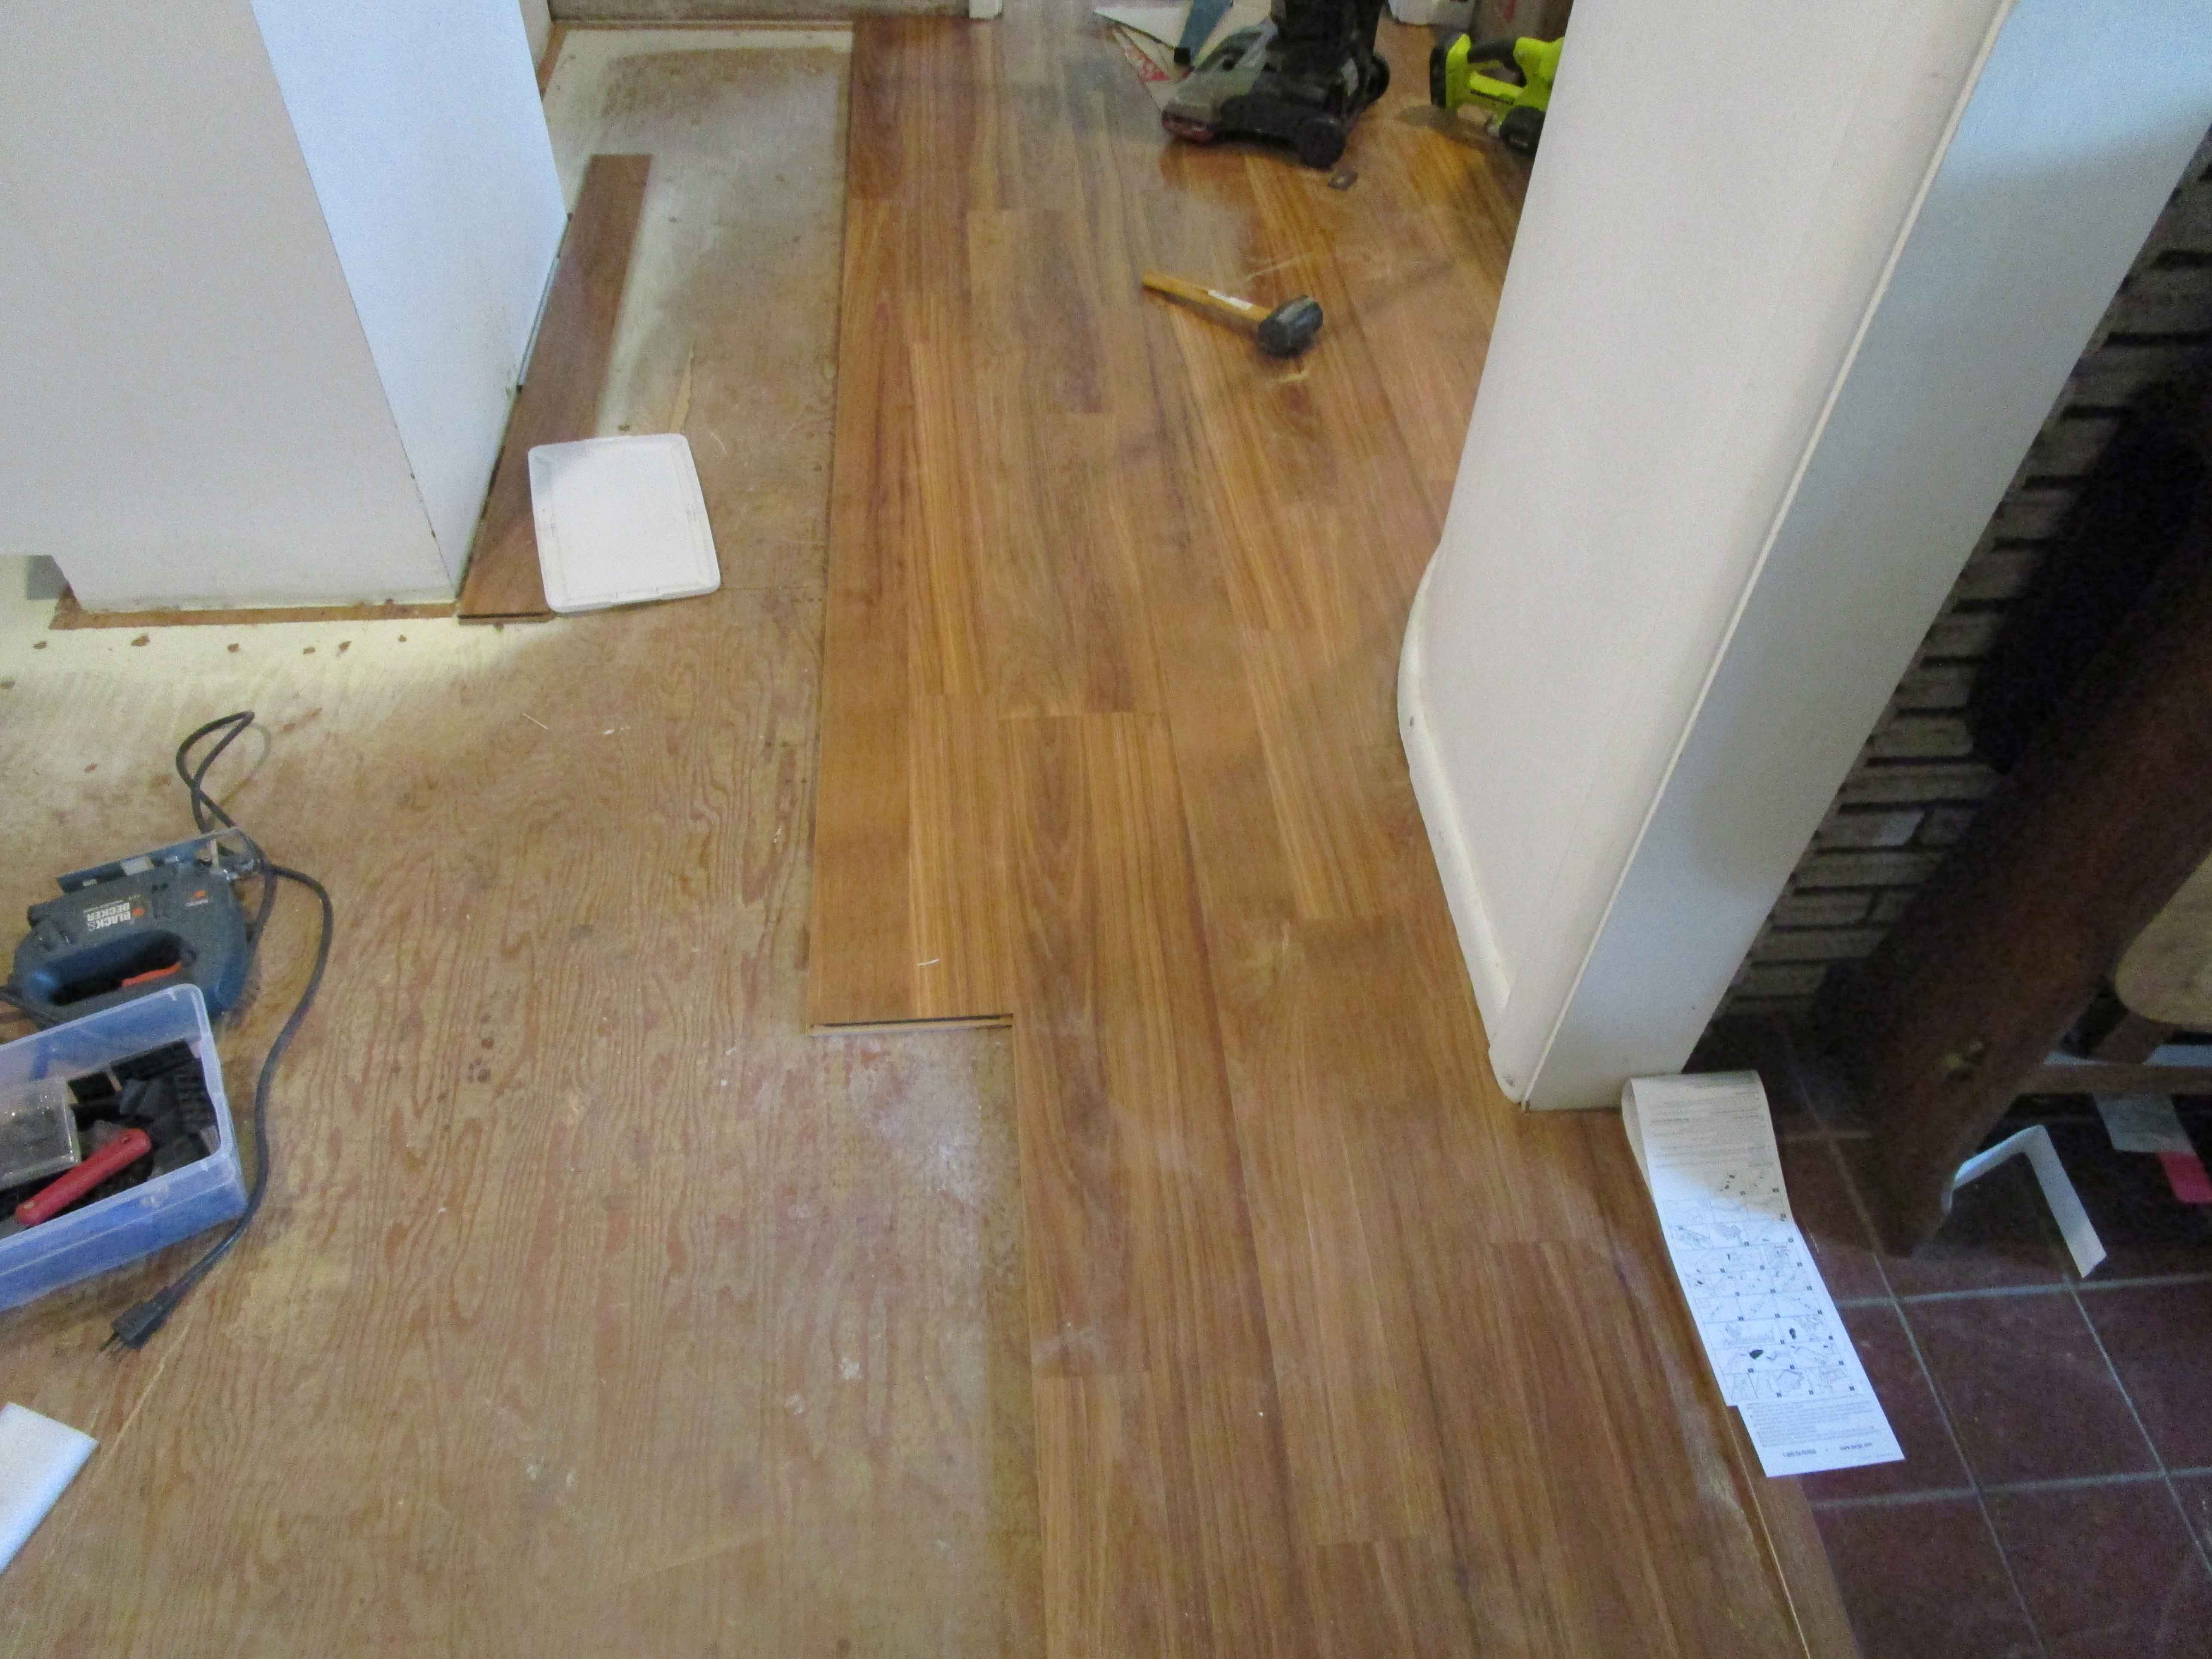
DIY Floor Installation Project with Pergo Laminate Flooring

More and more people are putting laminate flooring in their homes, and Pergo Laminate Flooring is a leading maker of hardwood laminate flooring. Pergo Laminate Flooring is quickly replacing hardwood flooring as the choice for many homeowners. In fact, one of the attractive qualities of laminate flooring is that this type of flooring can be installed as a do-it-yourself (DIY) project.
Not only will that satisfy the itch many have to engage in their own home remodeling projects, but it is also easier on the wallet. And it won’t take you too long to embark on this endeavor. A laminate flooring DIY installation project can typically be completed in one day for average size floors.
This DIY project just got even easier. In the early days of laminate flooring, professionals and DIY home re modelers alike had to deal with messy glued laminate flooring that they had to carefully glue to the floor. Pergo Laminate Flooring now has flooring options that don’t come with that mess. Pergo Laminate Flooring makes glue less flooring planks that are designed with a tongue and groove that neatly and easily clicks together.
This makes your DIY project even more gratifying because you didn’t spend your day struggling with a difficult flooring system that had a high chance for error. These glue less flooring planks take out the difficulty and mess, guaranteeing a beautiful floor when the last plank has been clicked into place.
You may already be convinced that Pergo Laminate Flooring is the way to go with your DIY flooring project in your home. Here’s another reason why Pergo Laminate Flooring is your best option for this home flooring project. You don’t have to engage in any demolition of your current floor before installing your laminate flooring. Pergo Laminate Flooring can be installed right over your existing ceramic, vinyl, or tile flooring. All you need to do is ensure that the existing floor is completely clean and smooth before installing your Pergo Laminate Flooring on top of it.
best robotic vacuum for laminate floors
Check for any bumps or peaked joints and sand them down, then wipe them clean, before installing your laminate flooring planks. Unfortunately, if you have carpet and you plan to replace it with laminate flooring, you will have to remove it first. Pergo Laminate Flooring cannot be laid over existing carpet. This is also true for real hardwood floors that were installed over a concrete sub-floor.
Before you begin installing your laminate flooring, you should do fittings of cabinets and cupboards. You will also need to take careful measurements to ensure that you leave an expansion space of one-quarter of an inch between the flooring planks and the abutting walls and/or cupboards and cabinets. This is because Pergo Laminate Flooring is not permanently affixed to the sub-floor area, and thus, they expand and contract during changes in temperature and humidity. If you do not leave this expansion space between your floor and the walls, the end result will be that your floors will buckle, which is not very attractive.
Pergo flooring has moldings that can be placed in these spaces after installation so that you cannot see these spaces and the end result looks professional. Note that if you are installing a laminate floor over a very large area, those expansion spaces need to be bigger.
Although you will be understandably excited to rush home and install your new Pergo Laminate Flooring immediately after purchasing it, you should not do so. It is best to leave the planks in their cartons in the room where they will be installed for 2 to 4 days to allow them to acclimate to the climate in the room. This will help to prevent buckling issues later after installation.

